How to Remove Hair Dye from Walls?
Dying your hair can sometimes turn out to be a messy affair. Even you try as much as you may but spots on the surrounding walls are a frequent by-product of this process.
Worse is the fact that hair dye has multiple ingredients: ammonia, soap modifiers, and alkalis in addition to the hair dyes themselves.
For this reason, How to Remove Hair Dye from Walls is not always a straightforward process.
A neutralizing solvent is a must-have because this is the only way you will be able to remove the dye without causing any harm to the wall.
Finding a suitable solvent is a simple task.
See also:
Solvent options for Removing Hair Dye from Walls
You can remove hair dye stains from the wall when they are still wet using soap and water.
When the dye dries, though, it’s doubtful that soap and water would be of any help. If it were possible, then hair dye would quickly come out of your hair immediately once you wash it.
- To remove stains from wood, woodworkers sometimes use a solution of chlorine bleach. A bleach strong enough to remove dye from wood will be strong enough to cause you harm and destroy the finishing on your wall. Household chlorine bleach or any other cleaning agent containing chlorine can help remove stains from the wall.
- Sometimes, bleach will not work. Another option is using rubbing or denatured alcohol. Many dyes contain alcohol as part of their ingredients. Alcohol is, therefore, a solvent solution you can opt for when hair dye becomes too stubborn on your walls.
- Another possible solvent is acetone or acetone-based nail polish.
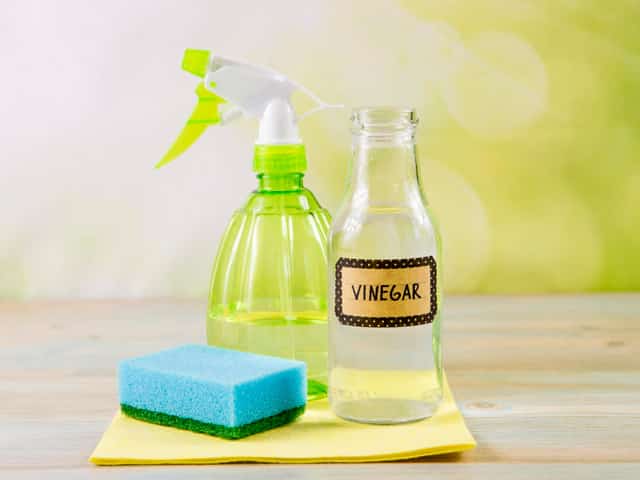
- Many cleaners would also recommend the use of vinegar as an option for removing stains from fabrics. It could work for your wall too.
There are 3 methods you can use to remove hair dye from your wall.
How to Remove Hair Dye from Walls?
Method 1: Using rubbing alcohol to remove hair dye from walls
Step 1: Take a ball of cotton wool and wet it using alcohol. Rub the wet cotton wool on a small part of the wall to test it. If there is any discoloration, residue, or stain on the cotton wool then you should avoid the alcohol method and find another alternative.
- You must always test products on small inconspicuous or hidden parts of a wall before using them on large surfaces to avoid expensive or irreparable damages.

Step 2: Take a clean white cloth and dampen it with alcohol. Using the damp cloth, gently rub the stain on the wall using swift circular motions. When the stain starts to transfer to the damp cloth, take a different cloth, and finish cleaning the stain with it.
Alternatively, using nail polish remover would be another option if rubbing alcohol fails to work efficiently. You must remember that the first step should always be to clean out the area with water before wiping it with the nail polish remover.
Step 3: Once the stain has been wiped off, use a damp towel to remove the rubbing alcohol from the wall. Finally, use a dry towel to dry off that part of the wall completely.
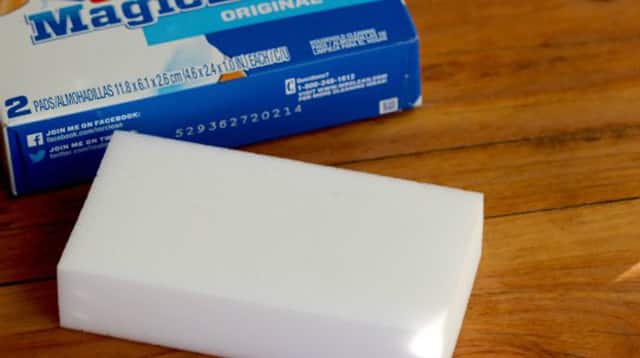
Method 2: Removing hair dye using a magic eraser
Magic erasers are cleaning tools powerful enough to remove stubborn stains that may be stuck on hard surfaces at home.
They are blocks of non-toxic melamine forms that works using the approach of super-fine sandpapers. They simplify the process of scrubbing away dirt and stubborn stains.
Step 1: Use water to dampen the magic eraser. Remove any excess water from the eraser by squeezing it before using it on the hair dye stain.
Don’t forget to test the eraser on an inconspicuous area of the wall before moving forward with the rest of the wall.
Step 2: Using light, swift, circular motions, scrub the stain from the wall gently. If the stain doesn’t come out, scrub it even harder. The eraser might dry out, re-wet it using water, and continue scrubbing until you remove the hair dye.
Step 3: Using a clean, dry towel, wipe the area. Depending on what you prefer, you can wipe out the area using a wet towel before drying it with a dry towel.
Method 3: Repainting the walls to Remove hair dye from walls
Step 1: Sand the stained area using fine-grit, 120 sandpaper. Use horizontal motions to sand the wall from top to bottom i.e. wiping it parallel to the ceiling.
- If the area is large, use a sanding pole for sanding it out.
- You should sand, prime, and repaint the whole wall to avoid a patchy appearance.
Step 2: Using a wet cloth, wipe the surface clean. The wet stuff enables us to remove any debris left after sanding out the wall. When all the debris has been removed, air dries the wall.
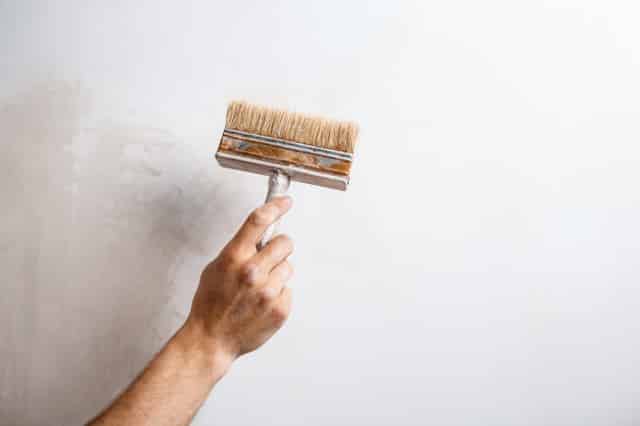
Step 3: Coat the area with a primer. Using a brush specifically meant for primer, brush up the wall in straight up and down motions. For best results, let the primer sit for at least 24 hours. Follow all the instructions in the bottle strictly.
Step 4: When the primer dries, re-sand the stained part of the wall again. Use horizontal motions to sand the area until it is smooth. Wipe down the surface once more to remove any debris left.
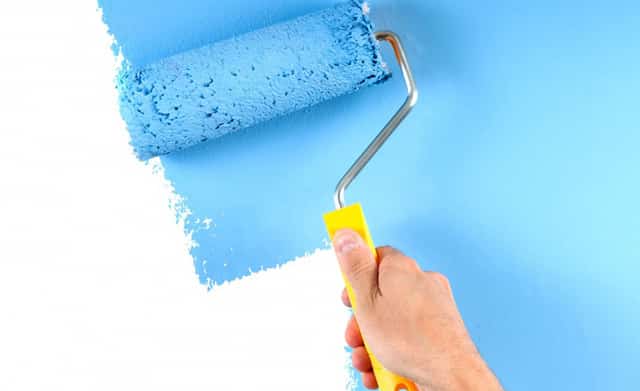
Step 5: Repaint the wall. Cover 1/3 of the new paintbrush with paint. Ensure that all the excess paint is removed by tapping it on the side of the paint can. Using straight up and down motions, paint the cleaned-out area.
- The first coat should be completely dry before a second layer can be applied.
- Make sure that you paint in full daylight so that you can get an even finishing.
- To make the look even more professional, sand in between the painting job.
Tips when Removing Hair Dye from Walls
- Try removing hair dye from the wall as soon as you can. Removing the dye sooner makes the work easier.
- Always avoid using things that may scratch or damage the surface of any stained area. Avoid using things like steel wool or harsh abrasives that may cause scratches that attract even more dirt in the future.
Note: After dyeing, don’t forget to use:
- The 25 Best Shampoos and Conditioners for Color-Treated Hair
- The 16 Best Shampoos and Conditioners for Balayage Hair

Aida